Personalized Homeschool Geography: One Map to Rule Them All
After I published my last blog post, I realized that I forgot to include our favorite geography project – our personalized master map for geography. That’s okay, though. This project is so fantastic that it deserves its own post.
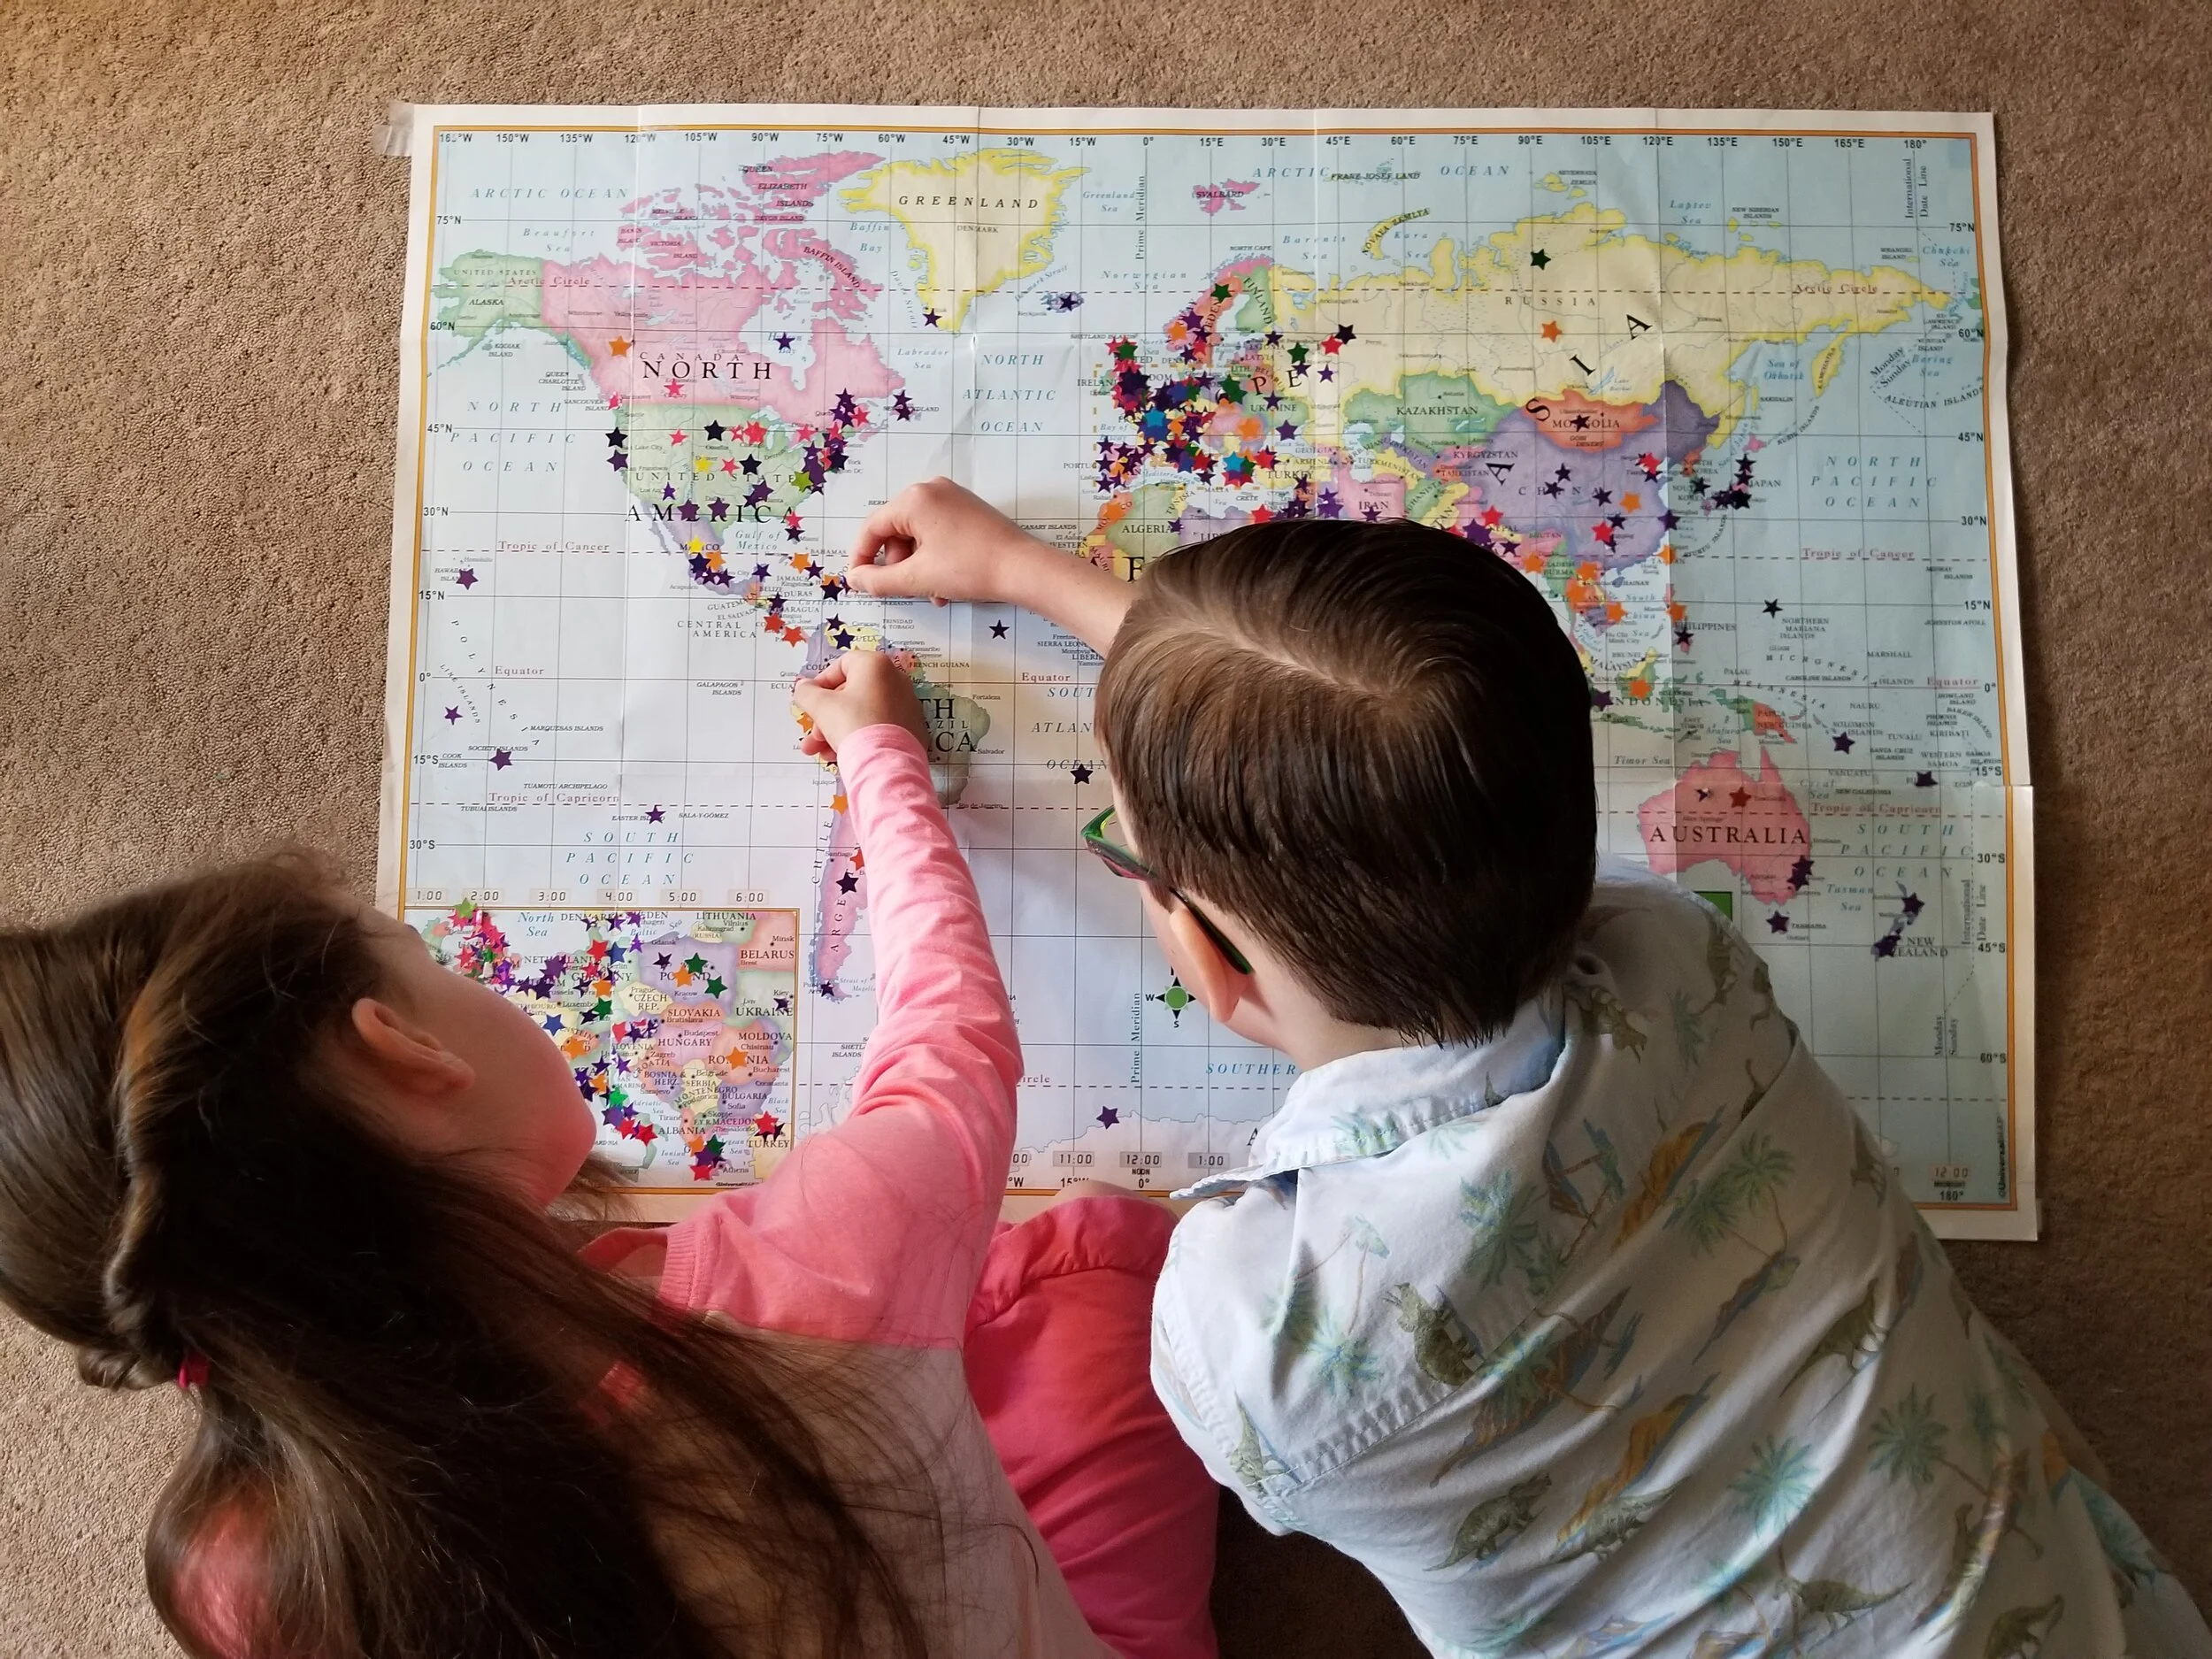
For our first cycle through homeschooling, we purchased a large foldout world map and colorful star stickers. As we have done throughout our homeschooling journey, we used our color-coding system for subjects to assign colored stars to each topic or person we studied. Every time we read a piece of literature, we put a pink star on the map to mark the setting of the book (or several if the characters traveled). If we learned about a scientist, we put a green sticker on the map to pinpoint where he or she lived and worked. If we studied a country, it received an orange sticker on our map. If we read about a battle or a historical leader, we put a periwinkle (or lavender) sticker on the map to represent the event or person. Some subjects generate a lot of stars, while some only generate a few (learning about Euclid gets you a star on the map; learning one-hundred proofs might get you a high-five, but no stars).
The greatest difficulty we had was figuring out where to put the map. For a while we taped it on a wall, but it started to get a bit damaged. We took it down and tucked it away, but then we had to pull it out every time we needed to attach a new star. That wasn’t very convenient, and we sometimes failed to put on new stars.
The final product looks spectacular, and it’s quite awe-inspiring to see years of study represented on one map. There are certainly some topics that we didn’t get on the map because they weren’t associated with a specific place (or because we just sometimes forgot to pull out the map), but it is still a huge accomplishment to see just how much we covered in our first six years.
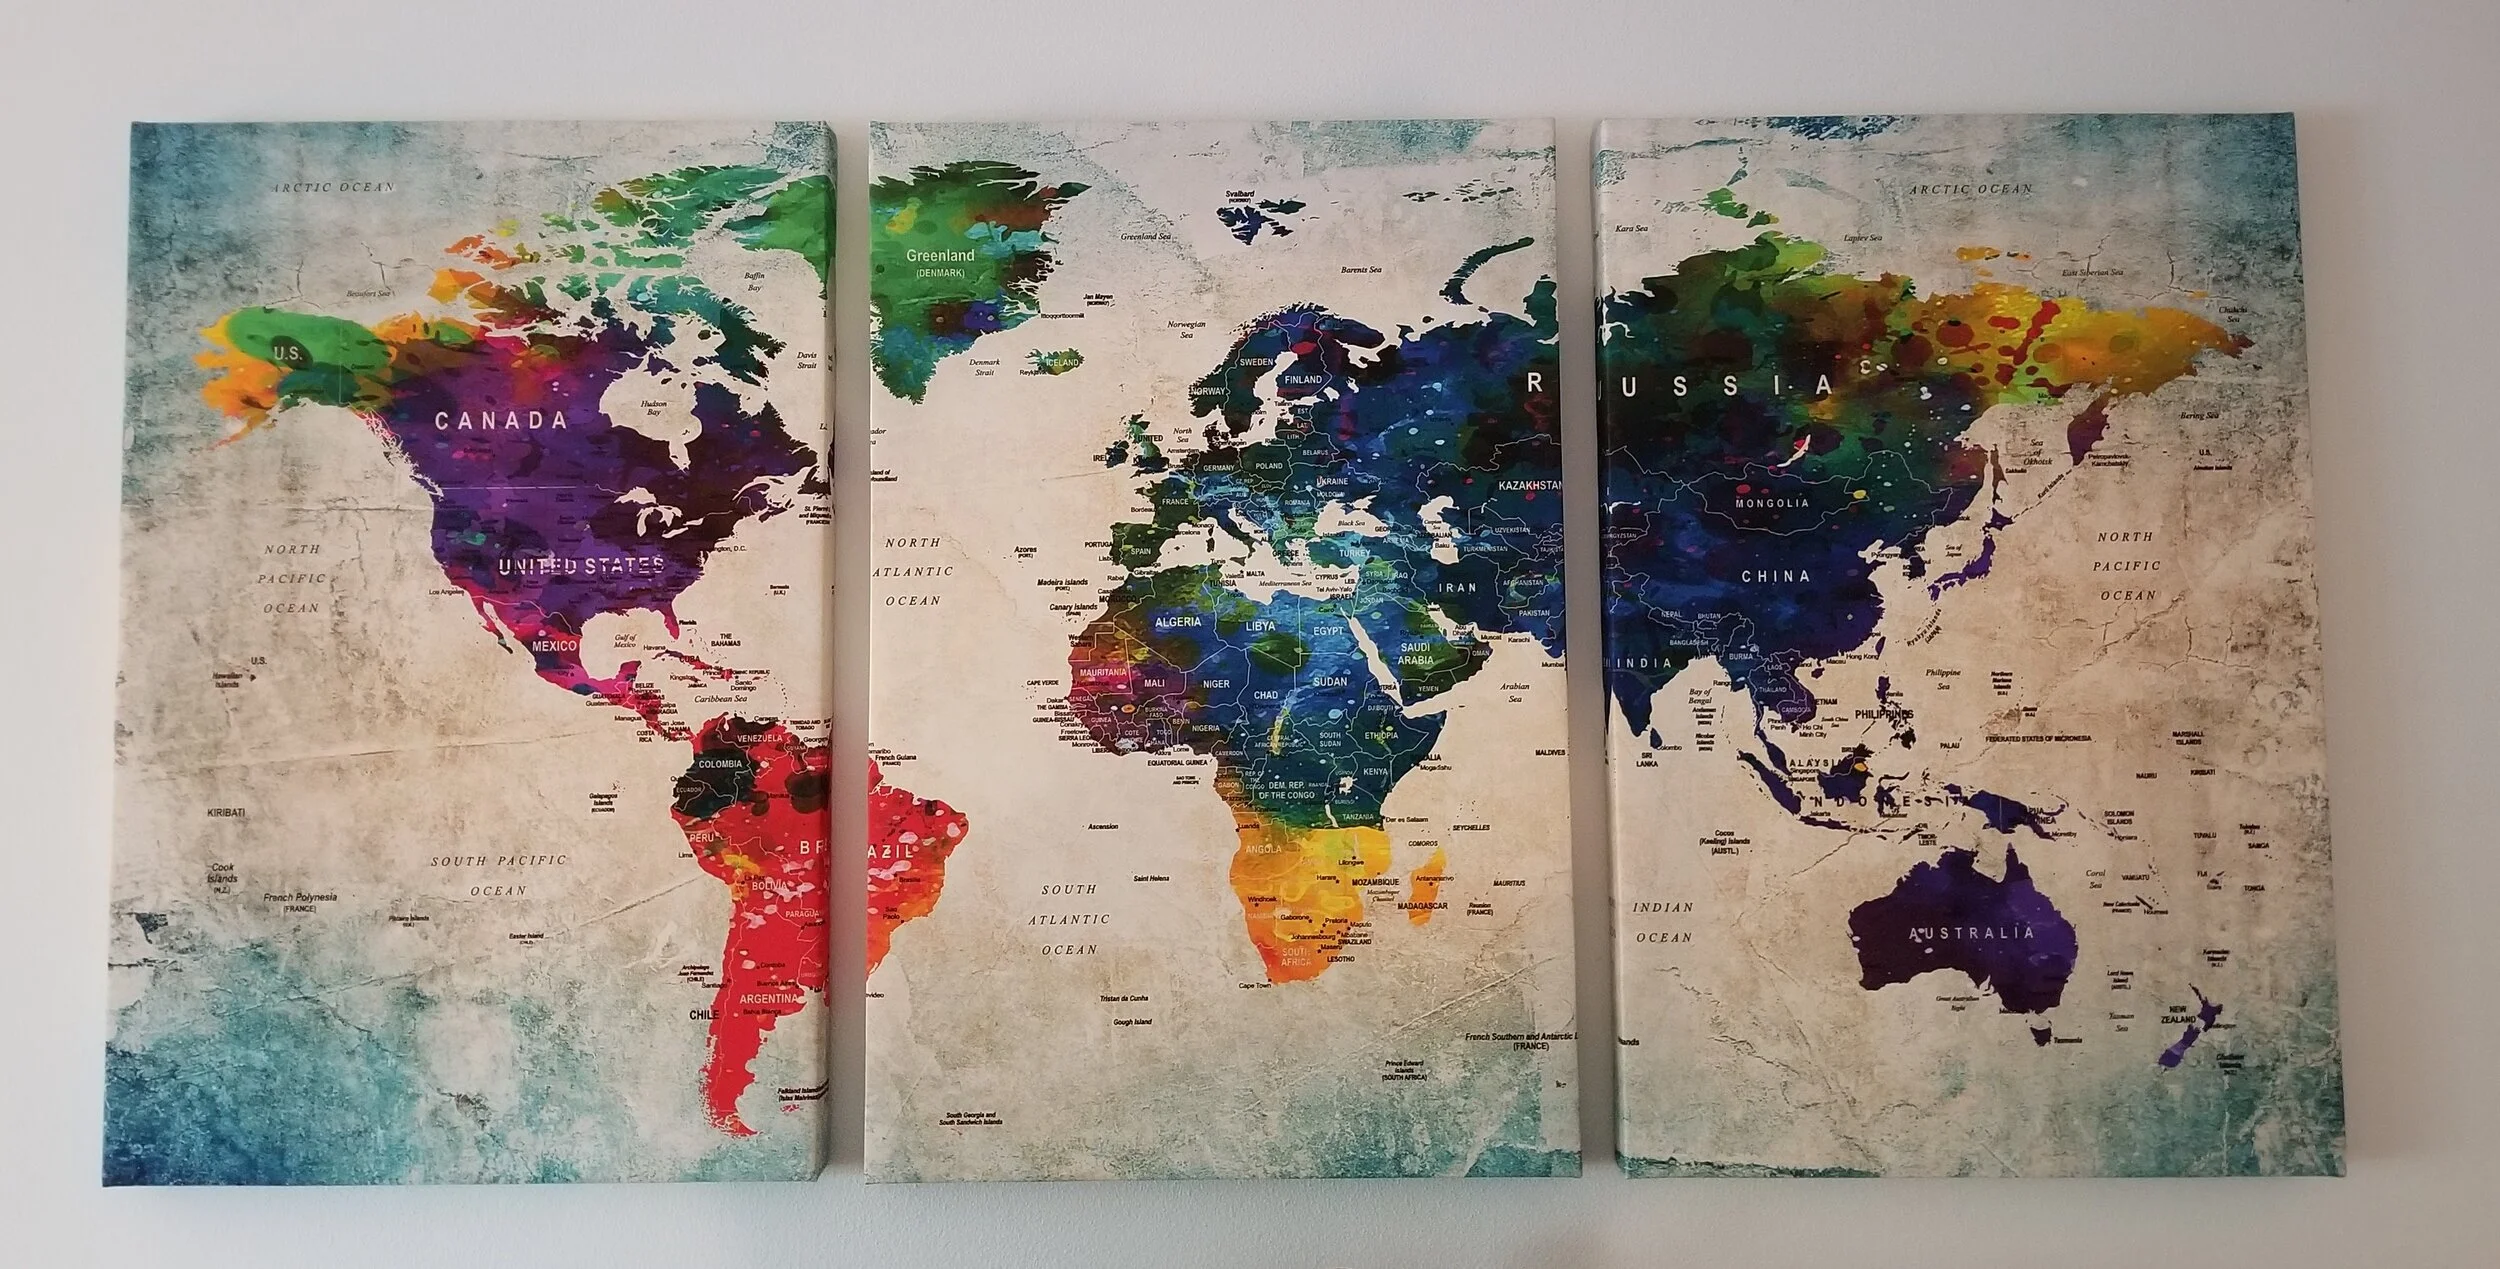
To remedy the problems we had with our large paper map, we purchased a beautiful, three-piece canvas map of the world to go above our mantle for round two. It’s sturdy and colorful (and huge) and will be much easier to work with. We also traded out our stars for smaller, colored dot stickers. Why? We had so many stars piled on top of each other on our first map that some parts of the world began to disappear! The dots are a little smaller and the color-variety is a bit better. To see the dots we are using, click here. We are so excited to watch the dots explode on our new map!
I hope that this post inspires you to complete a similar project with your kids. My kids love putting stickers on the map to mark what they are learning about, and I suspect your children will be very eager to make their own, personalized map of what they are learning!


